Recovery as Normal Files(MS-SharePoint)
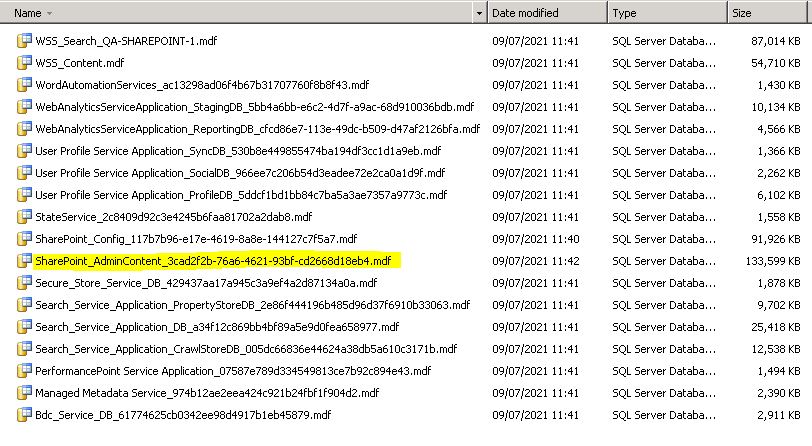
Below documentation shows how to restore SharePoint data after it has been recovered as normal files using steps as shown in Recovery as Normal Files. Please recover the SharePoint database files as shown below. Once you have the files, please follow the steps to restore.
Since SharePoint sits on top of SQL Server, which is a relational database management system so eventually we will be doing SQL database restores.
For more information about database types and descriptions please read https://docs.microsoft.com/en-us/sharepoint/technical-reference/database-types-and-descriptions.
Below we have demonstrated the restore steps along with the example. ( As the steps are similar to normal SQL database restores so it's up to users preference whether they prefer SQL Server Management Studio, SQL Query or the command line).
| Note: Please note currently work has been done for the SharePoint farm content data restore. Work is still in progress for SharePoint Farm configuration restore. |
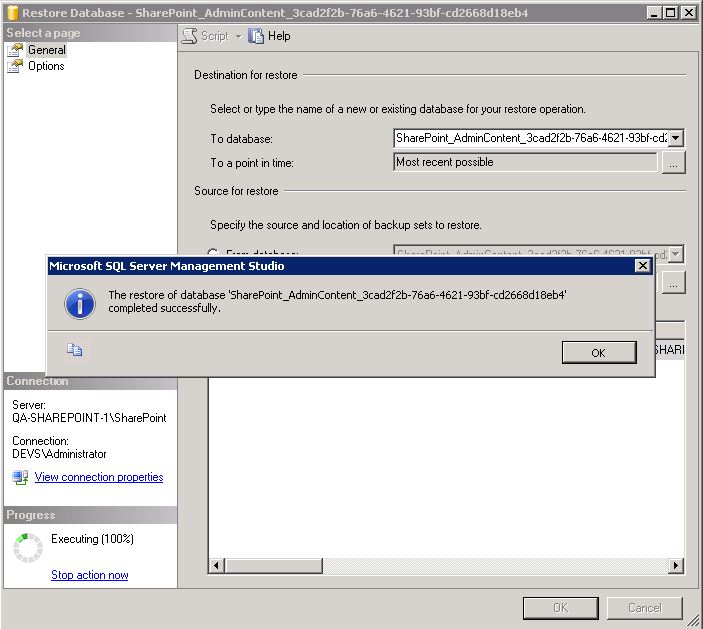
We are demonstrating restore of database named SharePoint_AdminContent_3cad2f2b-76a6-4621-93bf-cd2668d18eb4
Step 1
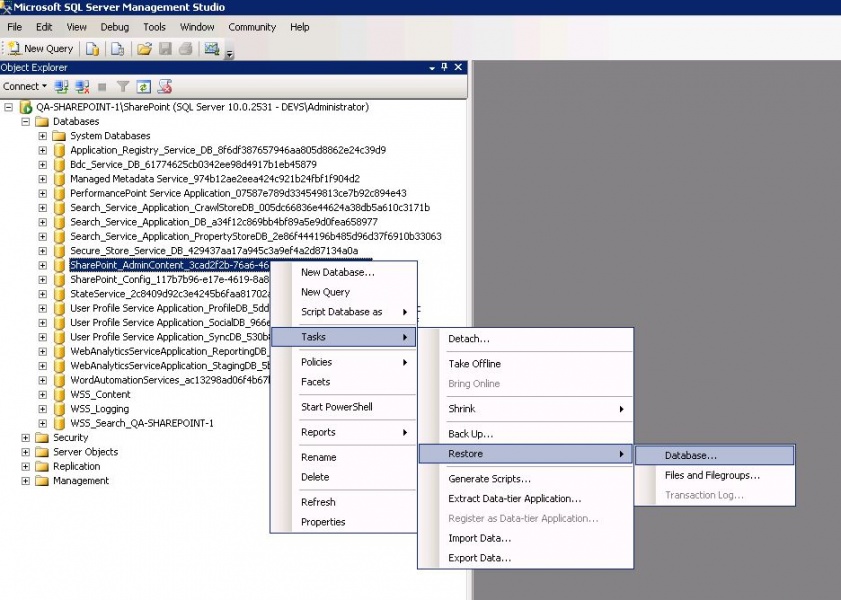
Login to SSMS(SQL Server Management Studio) and connect to the SQL Server Instance.
Step 2
Right Click and select Restore Database.
Step 3
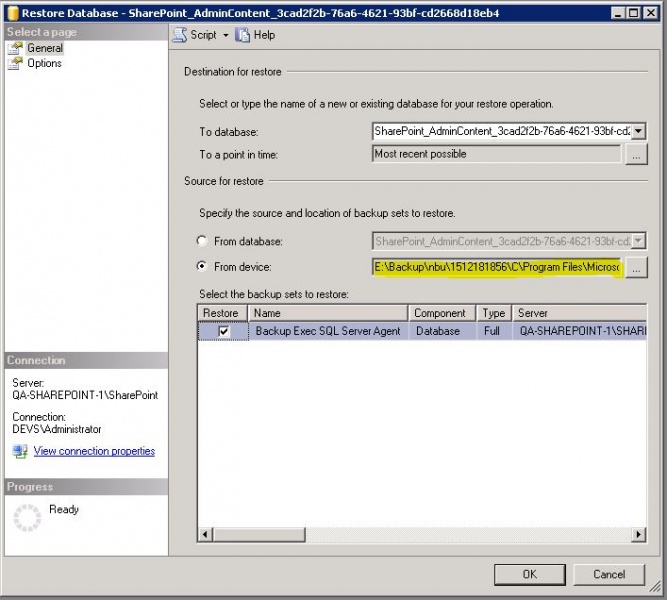
From Device , select the data file to restore.
Step 4
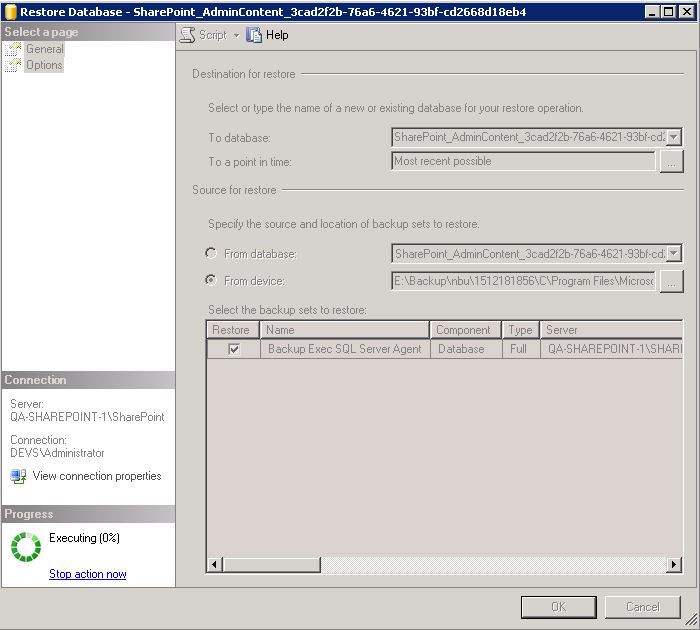
Click on OK and start the restore. Your data should start restoring.
You might have to take the database offline in case there are any existing connections.
Step 5
Verify the restored data,once restore has been successful
