Difference between revisions of "Install TZM Server Using OVA"
| Line 24: | Line 24: | ||
===Step 1.3=== | ===Step 1.3=== | ||
| − | Select <b>Power on after deployment</b> and finish the installation.Wait for the Tranzman Appliance to be deployed and follow the <b> | + | Select <b>Power on after deployment</b> and finish the installation.Wait for the Tranzman Appliance to be deployed and follow the <b>Step 1.4</b> and furher from [[Install TZM Server | Install TZM Server page ]]. |
Revision as of 10:55, 29 July 2020
Contents
Headline
This section explains how to install the Tranzman Server from an OVA. OVA will be shared with Customers though a fileshare from where Customers can download and follow the below steps to install the Tranzman Appliance.
VMware admins or System admins shoule be efficiently able to deploy the OVA. Below is just an example of deploying OVA using vSphere client.
Step 1.1
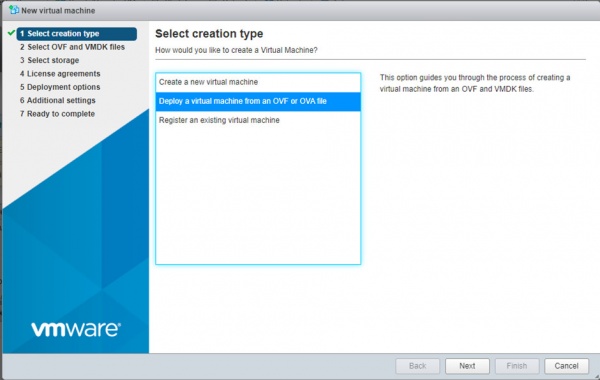
Login to host using vSphere client and click on File->Deploy OVF to deploy the Deploy OVF Template wizard and select the downloaded OVA.
Step 1.2
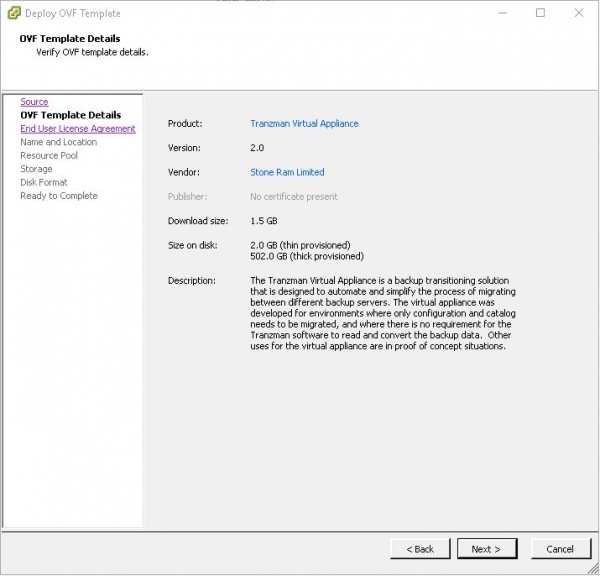
Review the OVF Template , Read and Accept the License and complete the steps to deploy the template. Make sure to select Thick Provision Lazy zeroed in Disk Format
Step 1.3
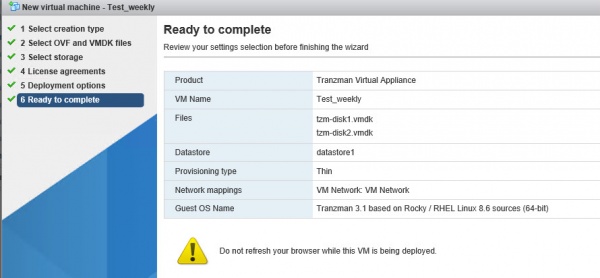
Select Power on after deployment and finish the installation.Wait for the Tranzman Appliance to be deployed and follow the Step 1.4 and furher from Install TZM Server page .


