Difference between revisions of "Recover SharePoint"
(→Step 5) |
(→Step 7) |
||
| Line 33: | Line 33: | ||
[[File:SharePoint_SSMS_Restore_DB-2.jpg]] | [[File:SharePoint_SSMS_Restore_DB-2.jpg]] | ||
| − | ==='''Step | + | ==='''Step 6'''=== |
| − | + | Use SQLCMD to restore your DB as shown in the below screenshots. | |
| − | [[File: | + | [[File:SharePoint_SQLCMD_Restore_DB.jpg]] |
==='''Step 8'''=== | ==='''Step 8'''=== | ||
Revision as of 16:14, 9 December 2019
The following method has been tested with the versions of Microsoft SharePoint 2010 for recovering the Database Files and getting the server back up and running.
Step 1
Login to the NetBackup GUI and navigate to Backup, Archive and Restore section.
Step 2
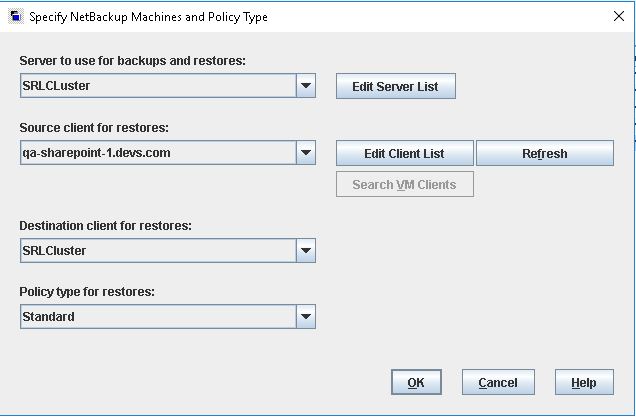
Click on the Restore Files tab and select the Source, Destination Client and type of Policy to restore the SharePoint backup files. The Policy Type will be Standard.
Step 3
Under Browse Directory select the DB files files to restore.
Step 4
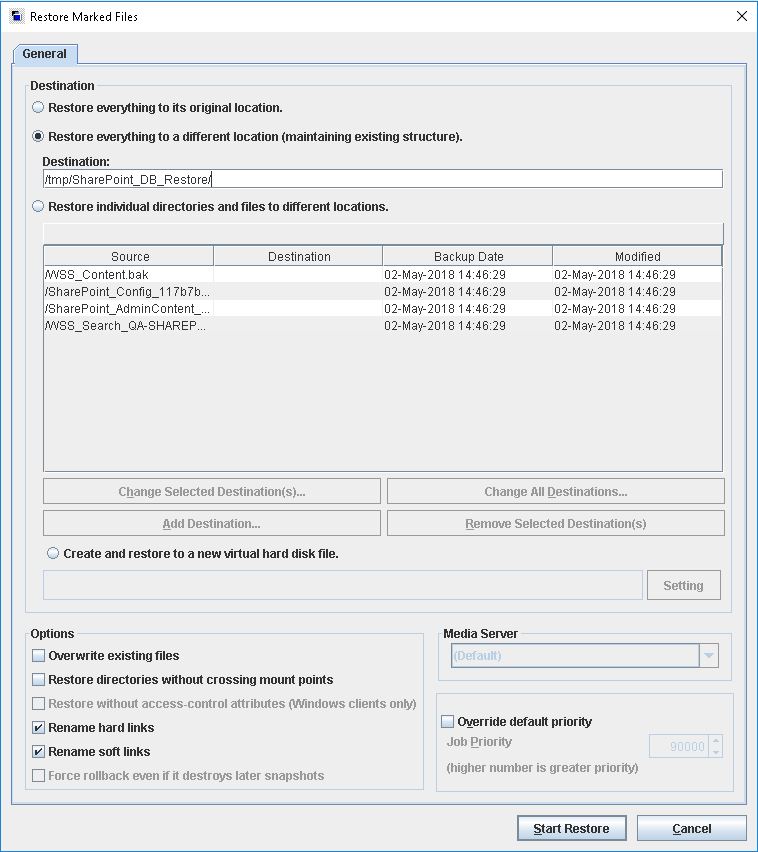
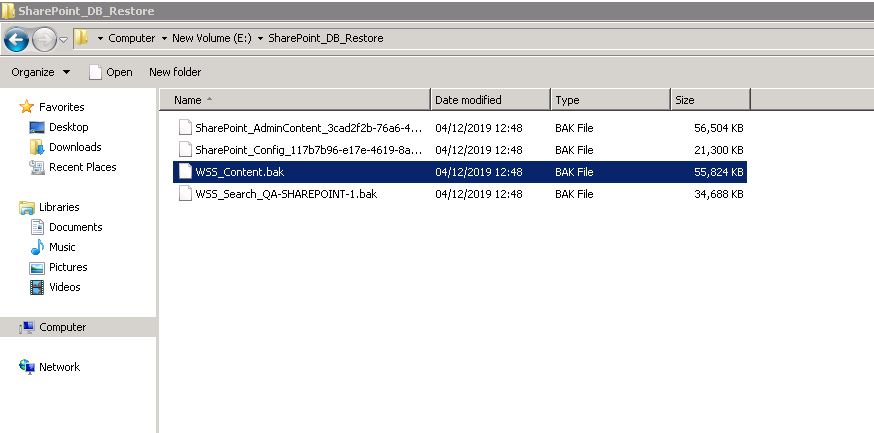
Chose to restore to a different location, and change the target destination to a temporary location on any Unix machine. Then restore the files and copy the restored files to the SharePoint server.
Step 5
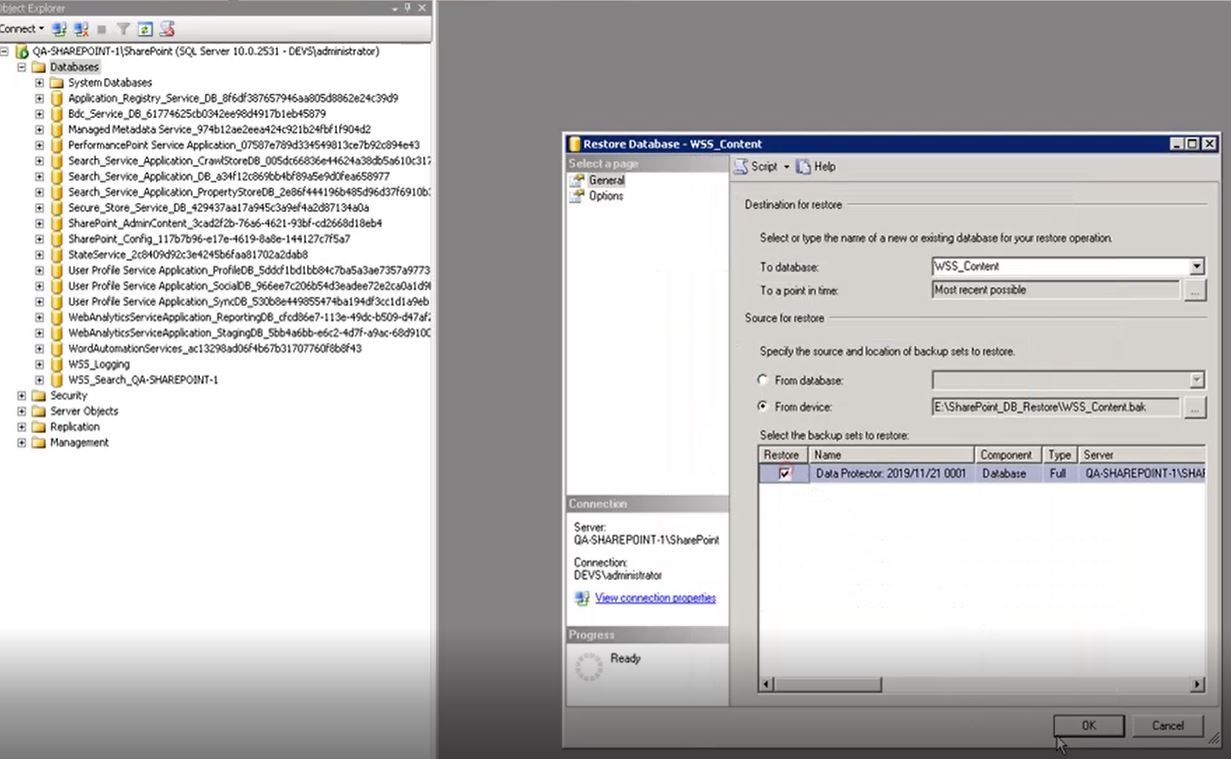
If your SharePoint farm has SQL Server Management Studio installed then please follow this step , else jump to step 6 to restore using SQLCMD.
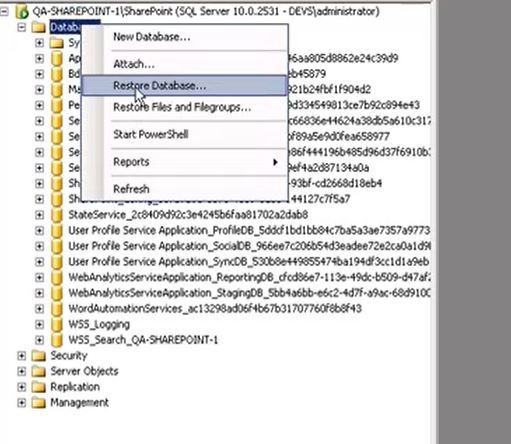
Login to the SSMS and do a native MSSQL Database restore from .BAK files.
Step 6
Use SQLCMD to restore your DB as shown in the below screenshots.
Step 8
Select OK and this will restore the contents from the BAK file to the desired Database.
Use this link to go back to the main recoverydocs Page.

