Install TZM Server in Nutanix
From Tranzman Documentation
Deploying Tranzman Appliance on Nutanix AHV
This section explains how to deploy the Tranzman appliance on a Nutanix server using the ISO image.
Follow the steps below to upload the ISO and create a VM in Nutanix AHV.
Deployment Steps
-
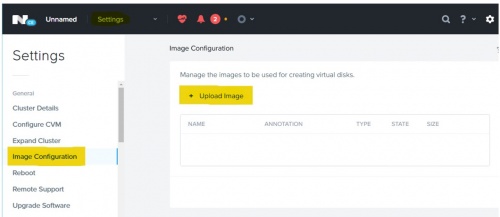
Upload the TZM ISO on Nutanix
Go to Settings → Image Configuration → Upload Image.
In the Create Image dialog, provide a Name for the image and choose ISO as Image Type.
Select Upload a file and choose the TZM ISO image for upload.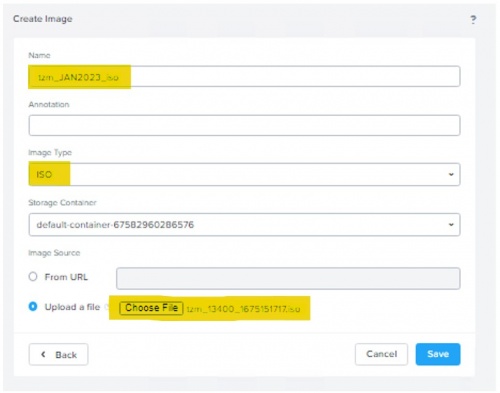
-
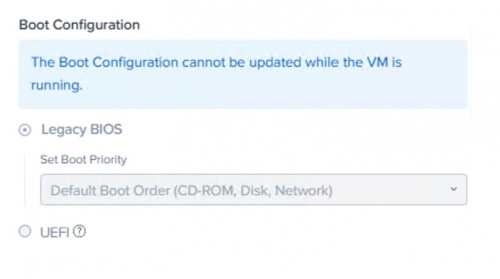
Create VM in Nutanix
Provide the VM configuration details as required.

Select Boot Configuration as Legacy BIOS.
-
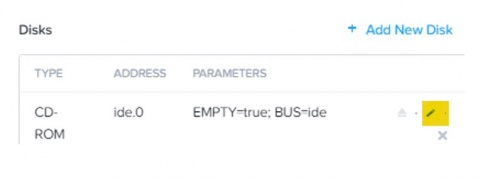
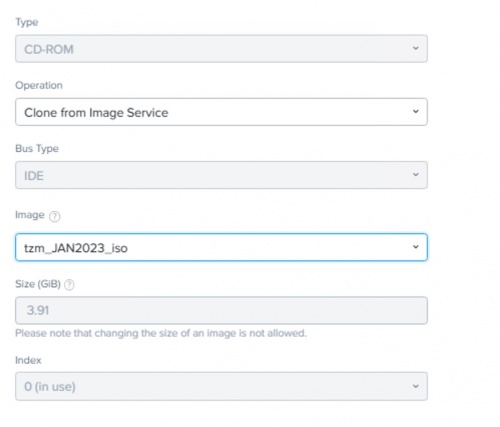
Edit VM Disk Configuration
Select the uploaded ISO image as the boot disk.
-
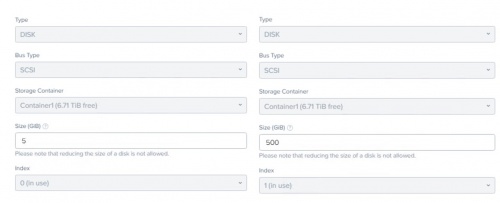
Add Additional Disks
Add two new disks: one with 5GB and another with 500GB size.
-
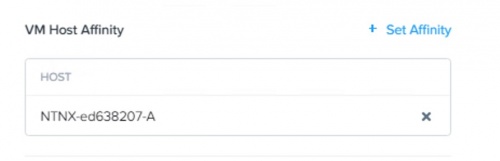
Add Network Adapter and VM Host Affinity
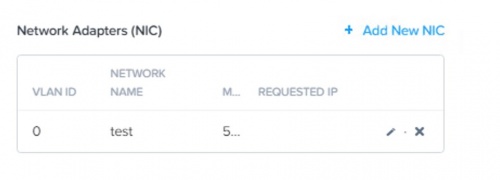


🛈 After VM creation, power on the VM and proceed with appliance configuration using the assigned IP address.