Difference between revisions of "Recovery as Normal Files(SAP HANA)"
(Created page with " == Headline == Tranzman UI provides a user friendly interface to browse the migrated images and restore data to the mounted NFS/CIFS share as per the Devices p...") |
|||
| Line 34: | Line 34: | ||
Select the image you want to restore the data from Images section.Browse through the data in that image in Image Content section and select it to restore. | Select the image you want to restore the data from Images section.Browse through the data in that image in Image Content section and select it to restore. | ||
| − | |||
| − | + | [[File:SAPHANAStep2.JPG | border|1100x800px]] | |
| − | |||
===Step 3=== | ===Step 3=== | ||
| − | From the Selection section on the webpage , select the | + | From the Selection section on the webpage , select the Destination for the restore. This refers to the NFS/CIFS share mounted for restoring data under devices.Then enter the |
path (name of folder) where you want the data to be restored and click on [[File:Restore.JPG | border|110x110px]]. This should trigger the restore | path (name of folder) where you want the data to be restored and click on [[File:Restore.JPG | border|110x110px]]. This should trigger the restore | ||
Revision as of 10:33, 5 October 2020
Contents
Headline
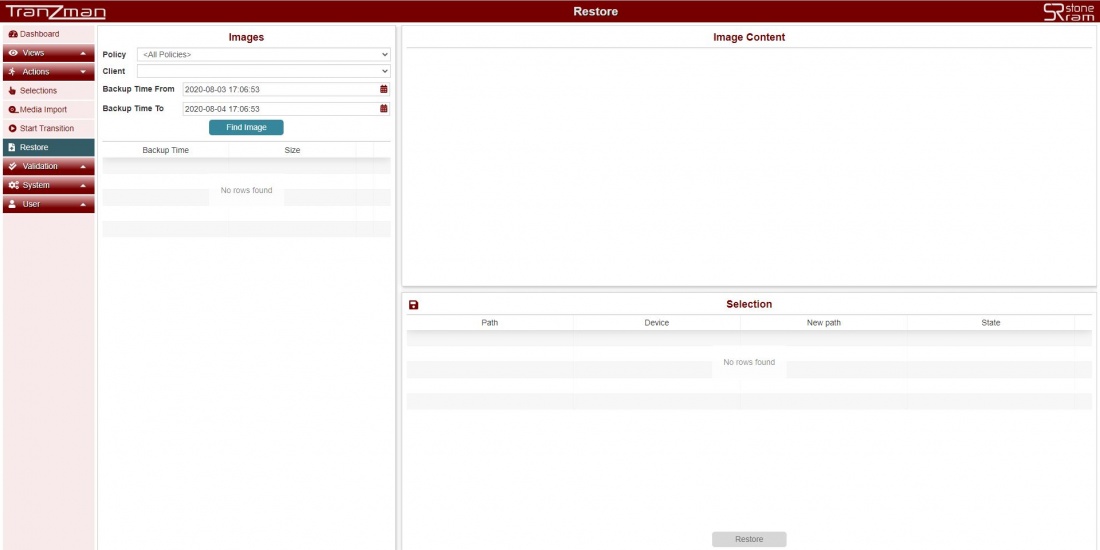
Tranzman UI provides a user friendly interface to browse the migrated images and restore data to the mounted NFS/CIFS share as per the Devices page. Click on Actions on sidebar and Select Restore. You should see the restore page with three sections.
- Images section for selecting the images to restore data from.
- Image Content section for browsing through the data in the selected images and select the contents you want to restore.
- Selection section for reviewing selected content for restore and run the restore for the selected.
So follow the below steps to perform the restore of SAP HANA Backups.
Step 1
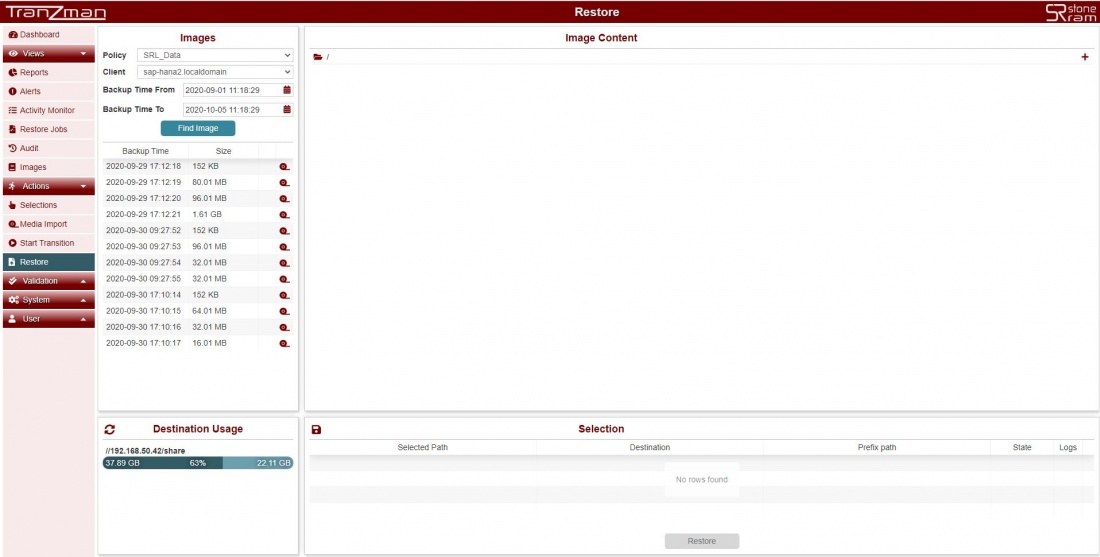
Select the Policy, Client, Backup Time From, Backup Time To and hit on and you should see all the images in the time interval selected.
| Note: Our SAP HANA Server is saphana2.localdomain. We are restoring a full backup from 2020-09-29. |
Step 2
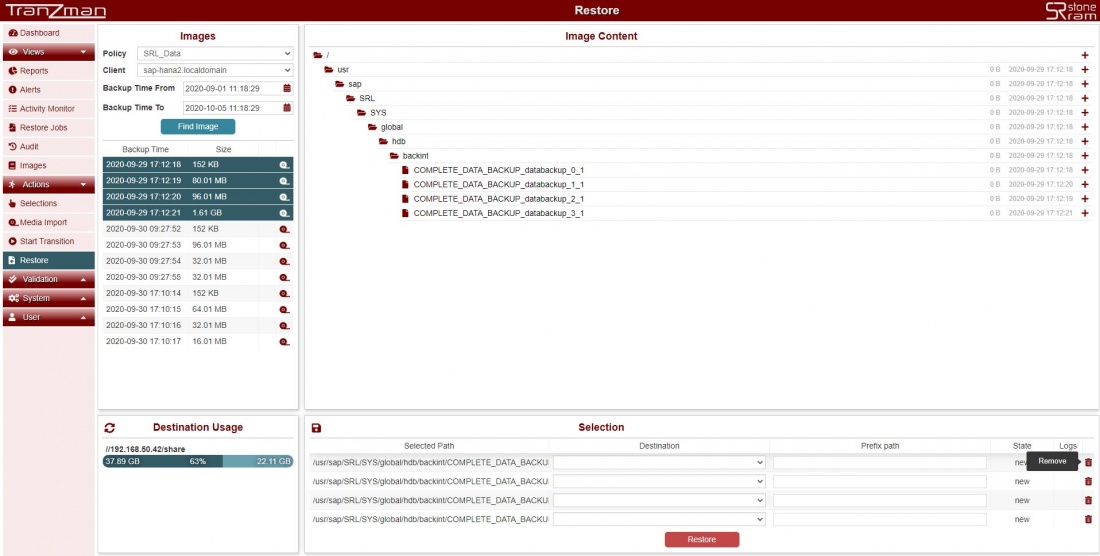
Select the image you want to restore the data from Images section.Browse through the data in that image in Image Content section and select it to restore.
Step 3
From the Selection section on the webpage , select the Destination for the restore. This refers to the NFS/CIFS share mounted for restoring data under devices.Then enter the
path (name of folder) where you want the data to be restored and click on . This should trigger the restore
Step 4
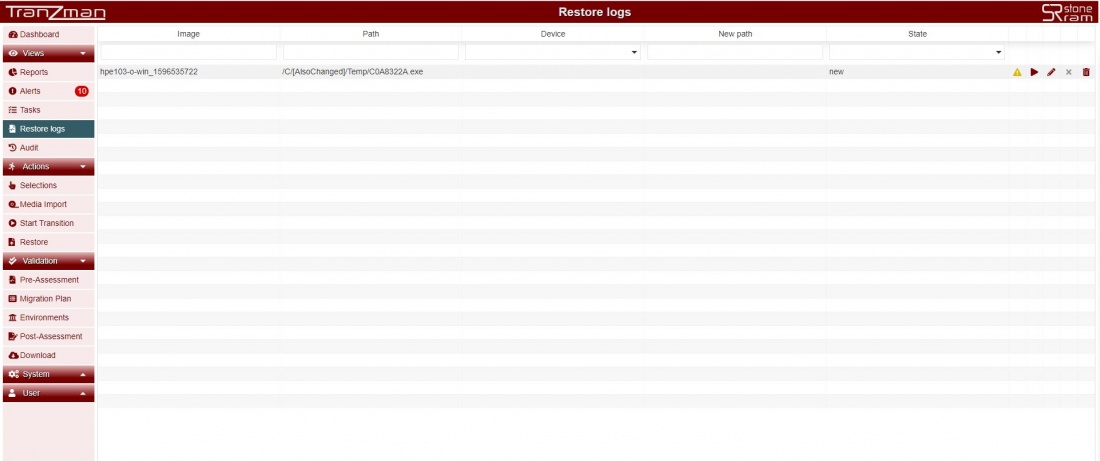
Once the Restore job is triggered successfully , you can see a new job in Tasks under Views->Tasks on the sidebar. Additionaly there is another section under Views->Tasks named Restore logs (shown below) where user can check the restore status , and also re-run the restore with or without modifications for restore paths.


