Sizer
This page outlines the steps needed to running tzm_recorder to obtain figures for sizing an Environment. The tool is either downloaded from a Tranzman Appliance that has been configured for performing Assessments, or can be obtained by sending a request to Tranzman Support
Recorder to obtain Sizing information
Step 1
Once the file has been copied to the backup server, extracted the contents, make sure there is at least 100MB of space in the folder where you extract, this will also be used as the run folder where data capture is staged.
Extract files from the TGZ archive using the tar command.
|
tar xzf tzm_recorder_linux.64.tgz |
If tar doesn't support the "z" option you will need to use "gunzip" first.
|
gunzip tzm_recorder_linux.64.tgz tar xf tzm_recorder_linux.64.tar |
Step 2
Modify access to all files extracted in the newly created tzm_recorder folder.
|
chmod +rx -R tzm_recorder |
Step 3
Run tzm_recorder found in the extracted folder.
|
cd tzm_recorder ./tzm_recorder -sizer |
Using Recorder in Windows
Step 1
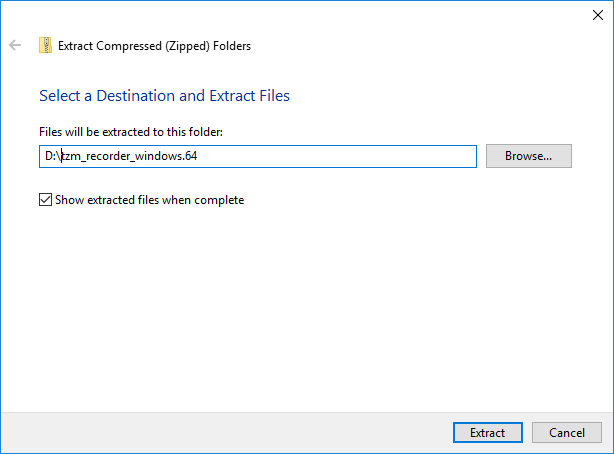
Once the file has been copied to the backup server extracted the contents, make sure there is at least 2GB of space in the folder where you extract, this will also be used as the run folder where data capture is staged.
Right click on the zip file to extract.
Step 2
Open a CMD window, and run the tzm_recorder.exe tool
|
D: cd \tzm_recorder_windows.64\tzm_recorder tzm_recorder.exe -sizer |
| Note: The CMD window needs to be run from an account with Administrator rights for it to work properly. |
