Difference between revisions of "Install TZM Server Using OVA"
| Line 8: | Line 8: | ||
===Step 1=== | ===Step 1=== | ||
| − | Login to host using web UI or a vSphere client and select to create a new VM | + | Login to host using web UI or a vSphere client and select to create a new VM. |
| + | [[File:OVAWizard.JPG | border|600x600px]] | ||
| − | + | ===Step 2=== | |
| + | Select to deploy with OVF and use the downloaded OVA. | ||
[[File:OVAWizard_1.JPG | border|600x600px]] | [[File:OVAWizard_1.JPG | border|600x600px]] | ||
| − | + | ===Step 3=== | |
| + | Select the storage you want to use. | ||
| − | ===Step | + | ===Step 4=== |
| − | + | Read and Accept the License. | |
| + | [[File:AcceptLicense.JPG | border|600x600px]] | ||
| − | |||
| + | ===Step 5=== | ||
| + | Select the correct Network | ||
| + | Select the Disk Provisioning, Tranzman will support both THIN and THICK, we recommend THICK for better Performance. | ||
| + | [[File:Overview_2.JPG | border|600x600px]] | ||
| − | |||
| + | ===Step 6=== | ||
| + | Click Finish to complete the deployment and power on the VM | ||
| − | |||
| − | |||
Revision as of 14:35, 2 September 2022
Headline
This section explains how to install the Tranzman Server from an OVA. OVA will be shared with Customers though a fileshare from where Customers can download and follow the below steps to install the Tranzman Appliance.
VMware admins or System admins should be efficiently able to deploy the OVA. Below is just an example of deploying OVA using Vmware Web UI.
Step 1
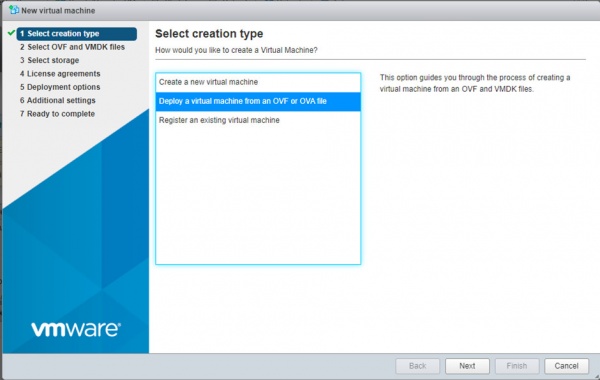
Login to host using web UI or a vSphere client and select to create a new VM.
Step 2
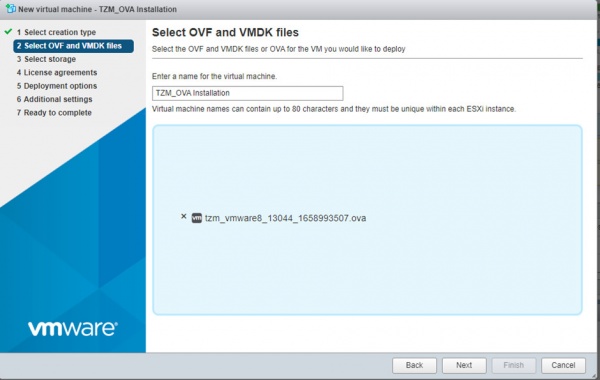
Select to deploy with OVF and use the downloaded OVA.
Step 3
Select the storage you want to use.
Step 4
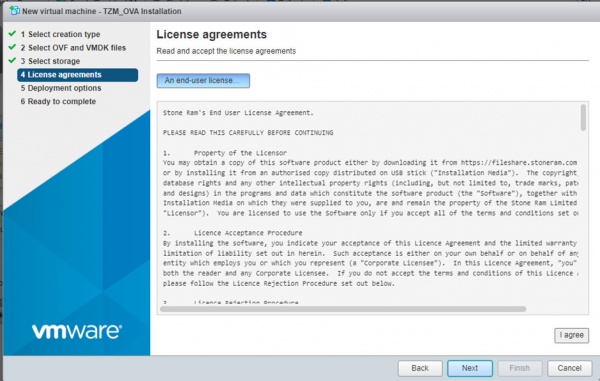
Read and Accept the License.
Step 5
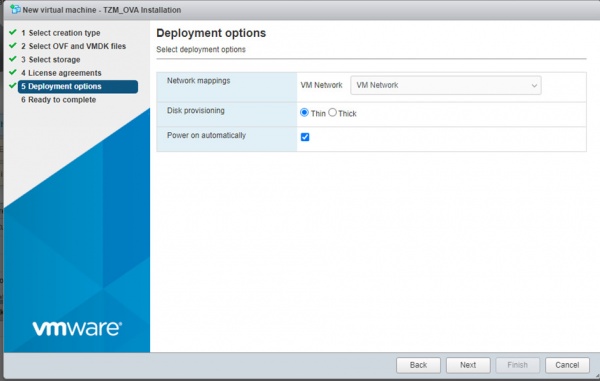
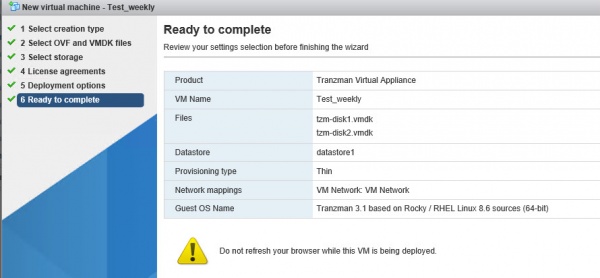
Select the correct Network Select the Disk Provisioning, Tranzman will support both THIN and THICK, we recommend THICK for better Performance.
Step 6
Click Finish to complete the deployment and power on the VM
Step 4
Once the machine is deployed and powered on, the machine will look on the network for an available NTP and DHCP server. If you have a DHCP enabled environment and machine is able to get an IP from DHCP Server it will be displayed like in below image. Please login to the web using that IP and proceed with Configuration otherwise go to Configure IP Network to manually set an appliance IP before jumping on to configuration.
|
Tranzman V3.0 (BUILD 13057) (c) Stone Ram Ltd 2014 - 2022 The network was configured with DHCP, this is not recommended!! you can connect to the web interface using the following URL in your browser You can connect to the console using "admin" to configure the network. All other access is denied tzm_appliance login: _ |
