Difference between revisions of "Recovery as Normal Files(DB2)"
(Created page with " Below documentation shows how to restore DB2 data after it has been recovered as normal files using steps as shown in Recovery as Normal Files(FileSystem) | Recovery as No...") |
(No difference)
|
Revision as of 09:47, 6 January 2021
Below documentation shows how to restore DB2 data after it has been recovered as normal files using steps as shown in Recovery as Normal Files . Please recover the DB2 database files.
Recovered filename will have a naming convention as shown below.
e.g. SAMPLE.0.DB2.NODE0000.CATN000.20180523164142.001
   Database Name = Sample
   Instance Name = DB2
   Timestamp = 20180523164142
   Catalog Name = CATN000
Once you have the files, please follow the steps to restore.
We are demonstrating recovery for SAMPLE database (shown in below picture).
| Note: There are more ways to perform DB2 restore.
For more detailed information please refer to the DB2 Restore Documentation. |
Step 1
Login to DB2 Server and connect to the SAMPLE database.
|
db2 => connect to sample Database Connection Information Database server = DB2/NT64 9.7.0 SQL authorization ID = ADMINIST... Local database alias = SAMPLE |
Step 2
|
db2 => restore database sample from "C:\backup" taken at 20180919172832 with 2 buffers buffer 1024 parallelism 1 without prompting SQL2540W Restore is successful, however a warning "2539" was encountered during Database Restore while processing in No Interrupt mode. |
Step 3
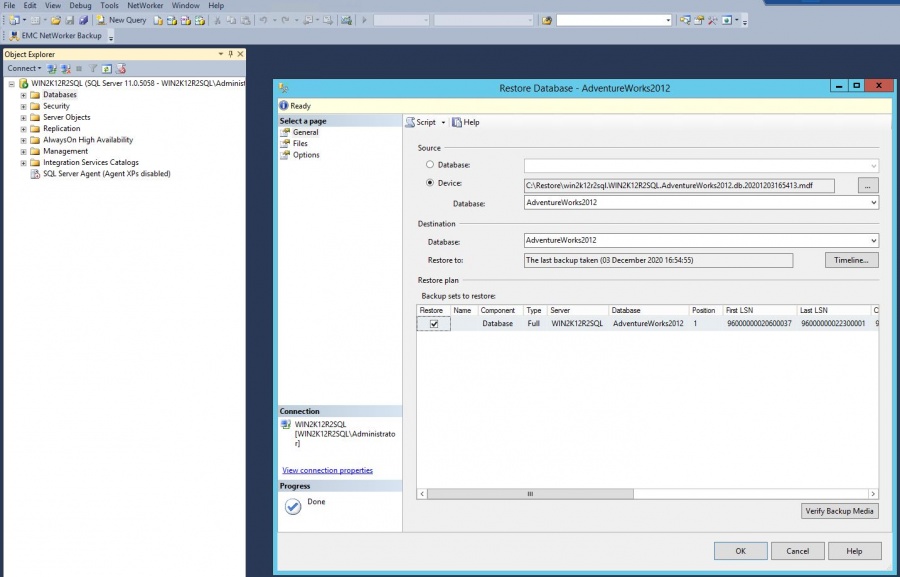
From Device , select the data file to restore.
After that , optionally you can click on Verify Backup Media too.
Step 4
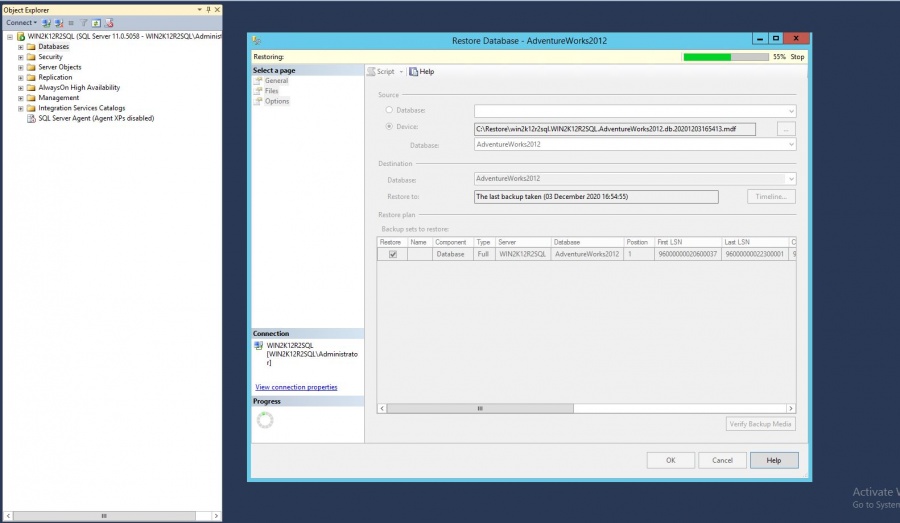
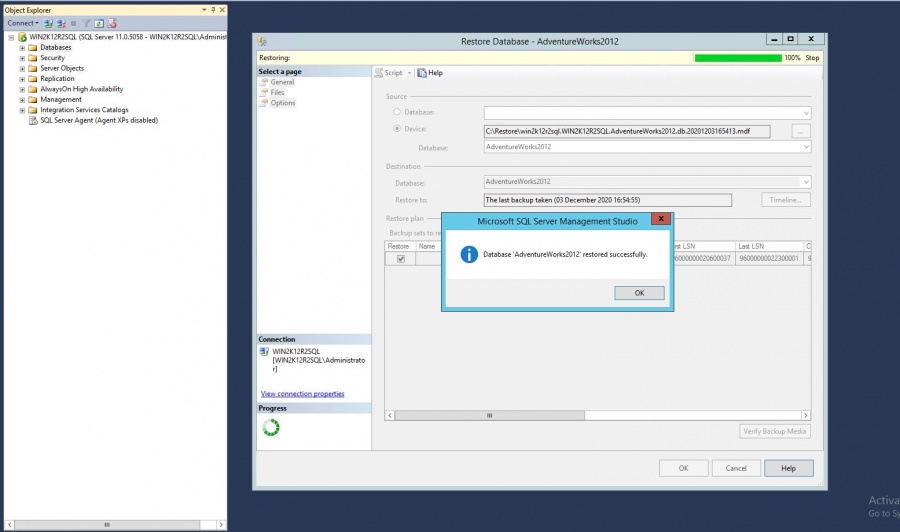
Click on OK and start the restore. Your data should start restoring.
Step 5
Verify the restored data,once restore has been successful


