Difference between revisions of "BLUE Migration"
| Line 21: | Line 21: | ||
[[File:AgentDownload.jpg|border|1100x800px]] | [[File:AgentDownload.jpg|border|1100x800px]] | ||
| + | ===Step 4=== | ||
| + | Copy the file over to the backup environment and install it there.Make sure you either run setup files as administrator/root or as a user used to configure backup services. | ||
| + | |||
| + | e.g. Install of Agent on a Windows Server. | ||
| + | |||
| + | [[File:AgentInstall.jpg|border|1100x800px]] | ||
[[ Discovery | Return to Discovery]] | [[ Discovery | Return to Discovery]] | ||
Revision as of 09:54, 17 July 2020
To set up the type of Migration or "Personality" switch over to the WebGUI of the Appliance.
Step 1
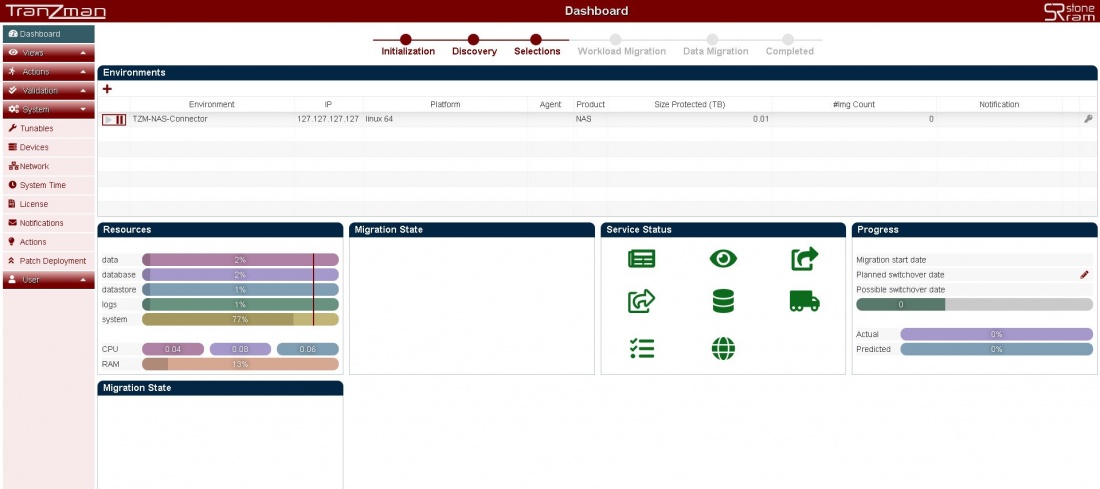
Verify that the Dashboard should already have an Environment with name TZM-NAS-Connector. The Dashboard enables you to check and monitor the TZM Appliance resources, migration state , service status , progress and state of Environments.
Step 2
Click the + button and add the origin backup environment.Enter the IP and select the platform of the backup environment and hit Committ button.
Step 3
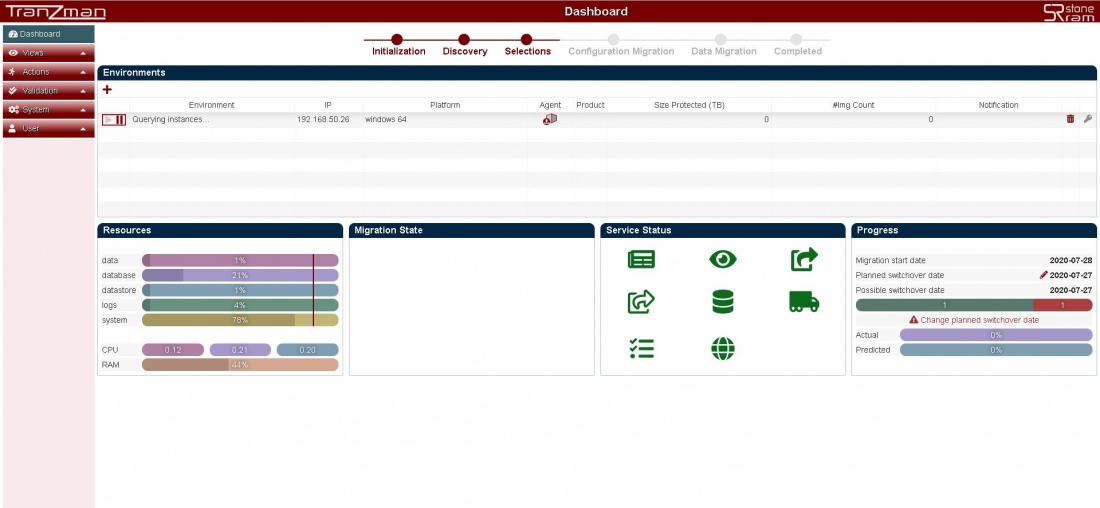
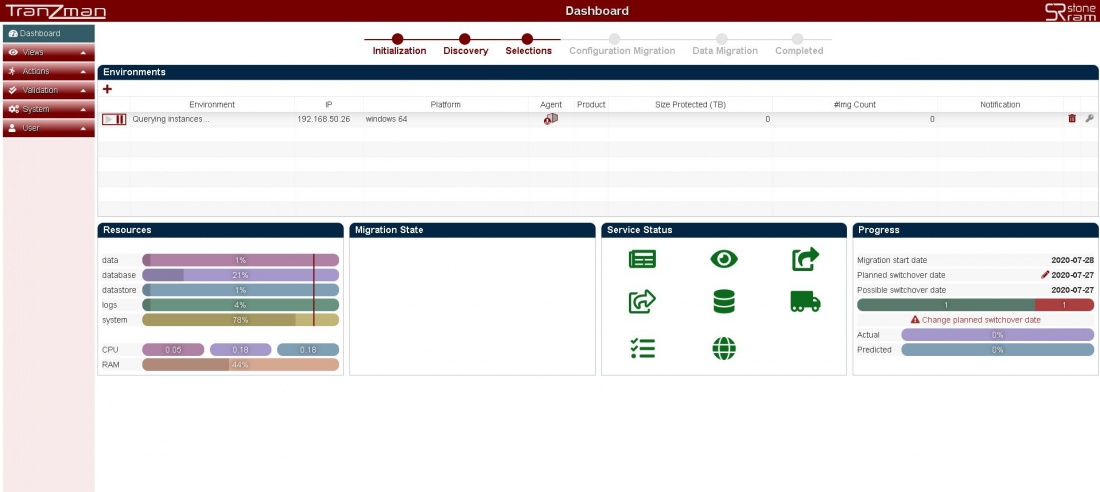
The Dashboard should now give you an environment with name as Querying instances... and IP address of your backup environment.
Under the Agent Column hit the ![]() button , this should download you a package (.bin file if Origin is *nix or .exe file if Origin is Windows).
button , this should download you a package (.bin file if Origin is *nix or .exe file if Origin is Windows).
Step 4
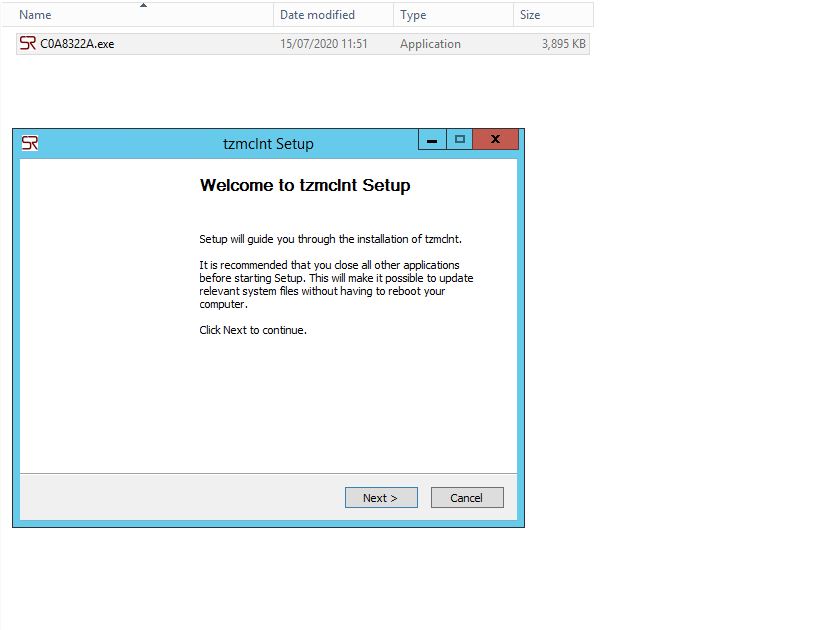
Copy the file over to the backup environment and install it there.Make sure you either run setup files as administrator/root or as a user used to configure backup services.
e.g. Install of Agent on a Windows Server.


