Difference between revisions of "Discovery"
(Tidy up steps) |
m (Add CVM sub-page) |
||
| Line 22: | Line 22: | ||
| | | | ||
|} | |} | ||
| + | |||
| + | The following steps are applicable to all backup products. Some products have additional steps that must be run. | ||
| + | * [[CommVault_Agent_Setup|CommVault specific installation notes]]; | ||
===Step 1=== | ===Step 1=== | ||
Revision as of 15:01, 17 June 2019
Once an environment has been added to the Tranzman Appliance follow the steps provided to download and install the client agent on the targets.
The client is a tool create to collect configuration, usage and sizing information about the backup environments. It currently supports the following platforms.
- Windows 32 bit (2003 or higher)
- Windows 64 bit (2003 or higher)
- Linux 32 bit (kernel 2.6 or higher)
- Linux 64 bit (kernel 2.6 or higher)
- AIX 5.X or higher
- HPUX 10.* or higher
- Solaris 9 or higher
Prerequisites
- For Linux/Unix, you must install NFS Utils on target machine so that Tranzman can transfer data to/from it.
- For Windows, SMB Signing needs to be Disabled so that Tranzman can transfer data to/from it. This can be achieved by editing the following RegEdit field;
HKEY_LOCAL_MACHINE\SYSTEM\CurrentControlSet\Services\LanmanWorkstation\Parameters\RequiresSecuritySignature=0
- Anti-virus products that perform on-demand scanning will significantly slow down the Tranzman agents. You should white-list the processes and folders used by Tranzman.
| Note: Remember to start the agent as the required user. For Windows system either as an Administrator/ System account, and for Linux as a root level account. |
The following steps are applicable to all backup products. Some products have additional steps that must be run.
Step 1
Log in to the Tranzman Web GUI and navigate to the Environments view.

Step 2
Under the Agent column, hover the mouse over the package picture on the row for the relevant environment and left click.
This will download the installer to your local drive.
Step 3
Copy this installer to a temporary folder on the target machine and install.
For Windows, go to step 4. For Linux or Unix, go to step 5.
Step 4
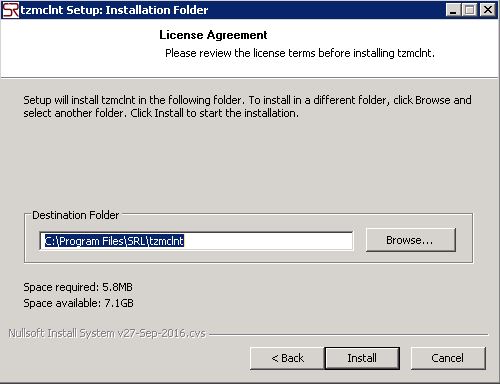
Double click on the EXE icon.
Follow the wizard to install the client to the default location as shown on picture below.
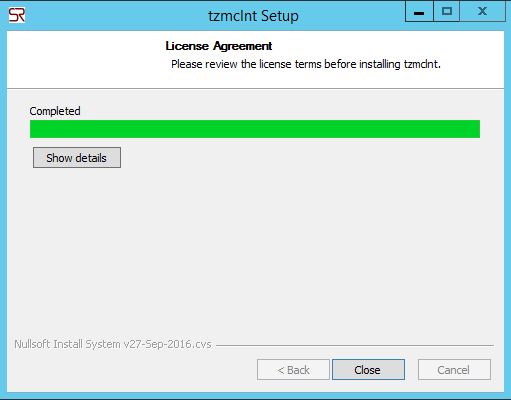
Once completed successfully you will be presented with the window to close the wizard.
Step 5
In the case of a Linux installer, navigate to the temporary folder in a shell window and run the downloaded package.
Use "return" to go back one menu on the Appliance.
Follow the on-screen wizard to complete the installation.


