Difference between revisions of "Recovery as Normal Files(FileSystem)"
| (4 intermediate revisions by the same user not shown) | |||
| Line 13: | Line 13: | ||
So follow the below steps to perform the restore of data as files. | So follow the below steps to perform the restore of data as files. | ||
| + | |||
| + | {|style="padding: 5px; width: 85%;" | ||
| + | | style="width: 1%;"|[[File:Note.png|30px]]|| style="padding: 10px; width: 85%;"|'''Note:''' Below restore steps should be followed to restore filesystem data and also to recover the DB/Application data as files. Once database/applications files are recovered then specific database/application steps should be followed to restore that data to a database/application. | ||
| + | | | ||
| + | |} | ||
| Line 42: | Line 47: | ||
From the Selection section on the webpage , select the Destination for the restore. This refers to the NFS/CIFS share mounted for restoring data under [[ Devices|Devices ]].Then enter the | From the Selection section on the webpage , select the Destination for the restore. This refers to the NFS/CIFS share mounted for restoring data under [[ Devices|Devices ]].Then enter the | ||
path (name of folder) where you want the data to be restored and click on [[File:Restore.JPG | border|110x110px]]. This should trigger the restore and the Restore button should be greyed out. | path (name of folder) where you want the data to be restored and click on [[File:Restore.JPG | border|110x110px]]. This should trigger the restore and the Restore button should be greyed out. | ||
| + | |||
[[File:TriggerFileSystemDataRestore.JPG | border|1100x800px]] | [[File:TriggerFileSystemDataRestore.JPG | border|1100x800px]] | ||
| + | |||
===Step 4=== | ===Step 4=== | ||
| + | |||
| + | Once the restore is successfull, verify the restored data from the mounted NFS/CIFS share. | ||
| + | |||
| + | |||
| + | [[ DP/DataProtector Recovery | Return to DP/DataProtector Recovery ]] | ||
Latest revision as of 10:16, 15 December 2020
Contents
Headline
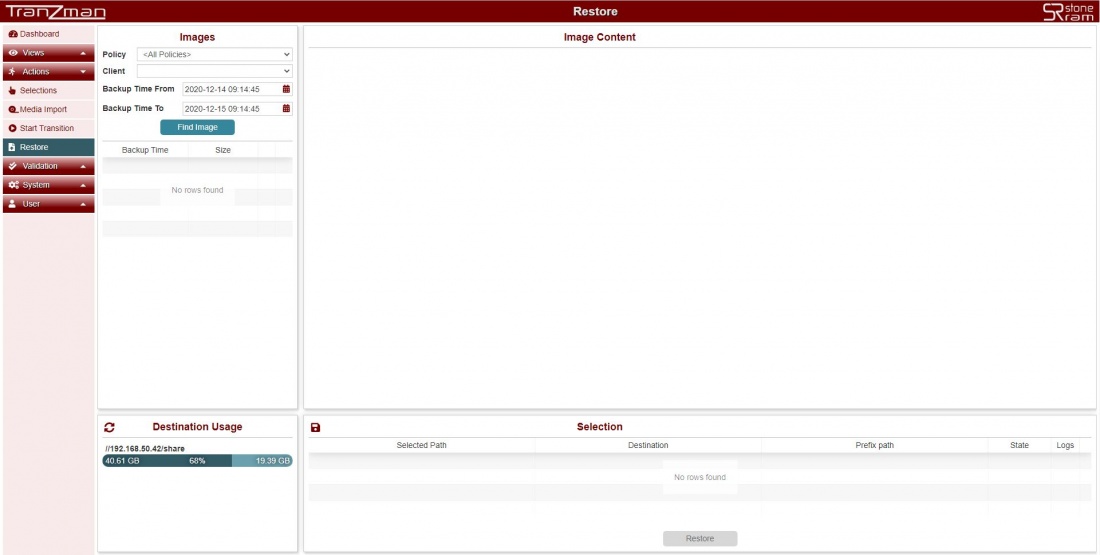
Tranzman UI provides a user friendly interface to browse the migrated images and restore data to the mounted NFS/CIFS share as per the Devices page. Click on Actions on sidebar and Select Restore. You should see the restore page with three sections.
- Images section for selecting the images to restore data from.
- Image Content section for browsing through the data in the selected images and select the contents you want to restore.
- Selection section for reviewing selected content for restore and run the restore for the selected.
- Destination Usage section for monitoring NFS/CIFS share.
So follow the below steps to perform the restore of data as files.
Step 1
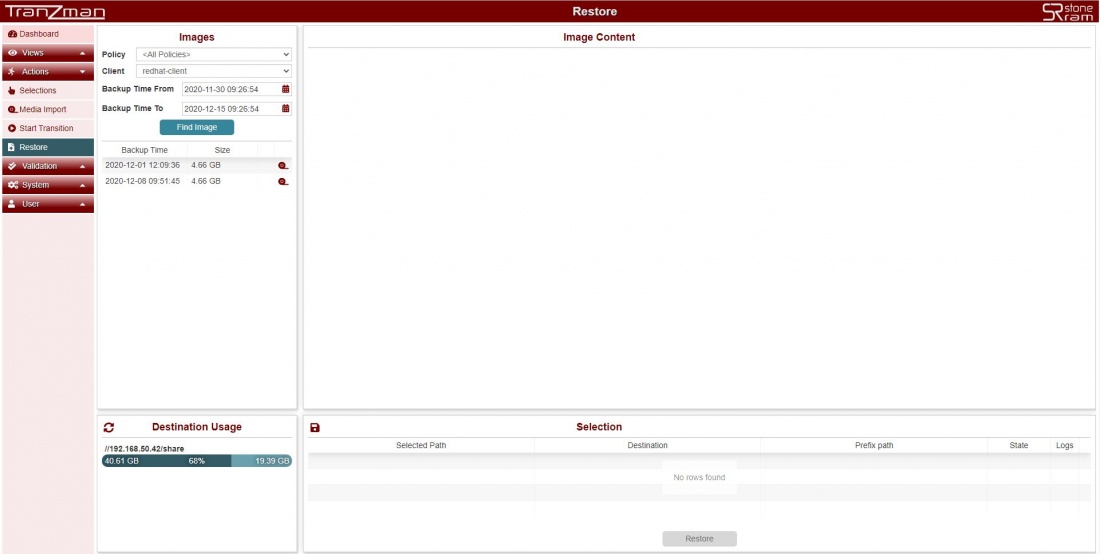
Select the Policy, Client, Backup Time From, Backup Time To and hit on and you should see all the images in the time interval selected.
| Note: In example shown below , redhat-client is FileSystem backup client. We are restoring a full backup from 2020-12-08. |
Step 2
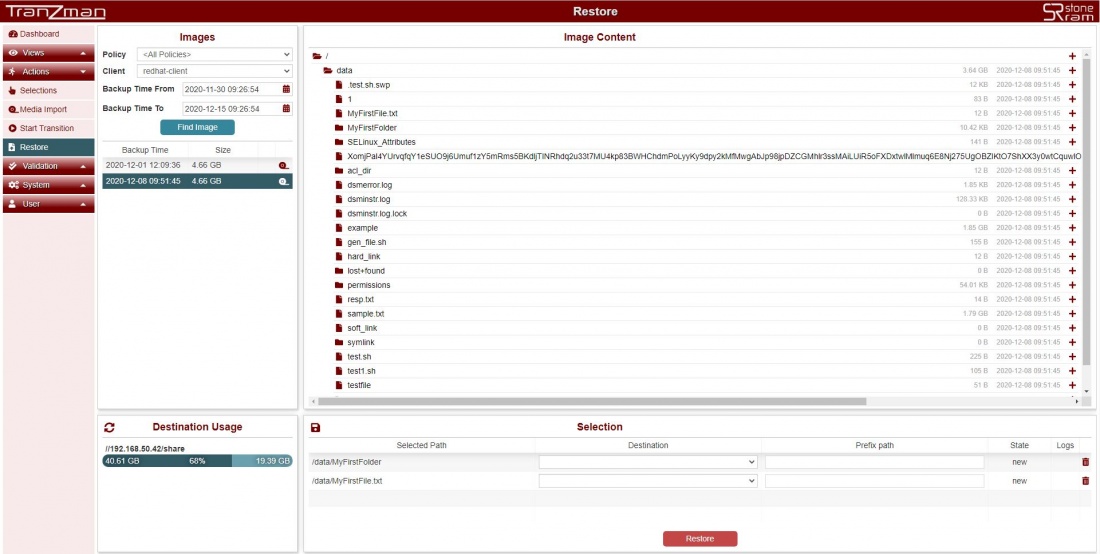
Select the image you want to restore the data from Images section.Browse through the data in that Image in Image Content section and select it to restore.
Step 3
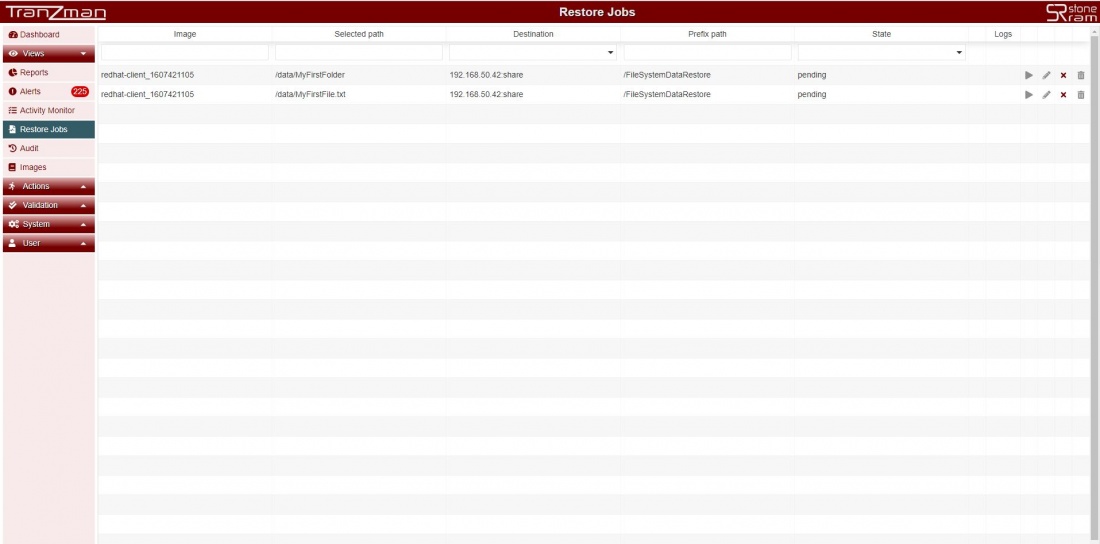
From the Selection section on the webpage , select the Destination for the restore. This refers to the NFS/CIFS share mounted for restoring data under Devices .Then enter the
path (name of folder) where you want the data to be restored and click on . This should trigger the restore and the Restore button should be greyed out.
Step 4
Once the restore is successfull, verify the restored data from the mounted NFS/CIFS share.


