Configure Bootable TZM USB using Rufus
This is the installation guide for creating your own bootable USB for TZM install on to physical servers.
Step 1
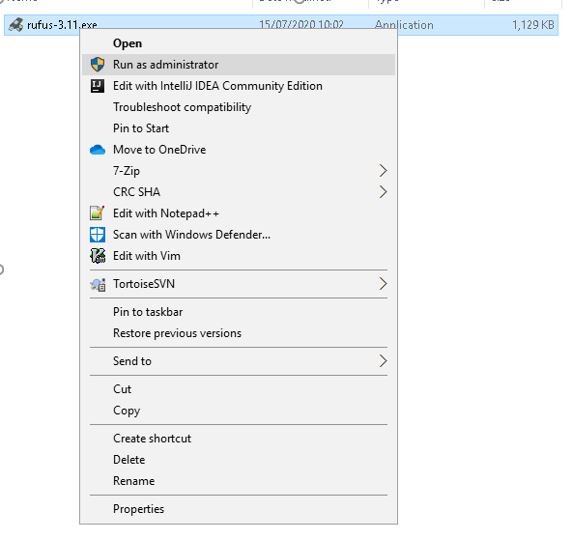
Launch Rufus with administrator privileges.
Step 2
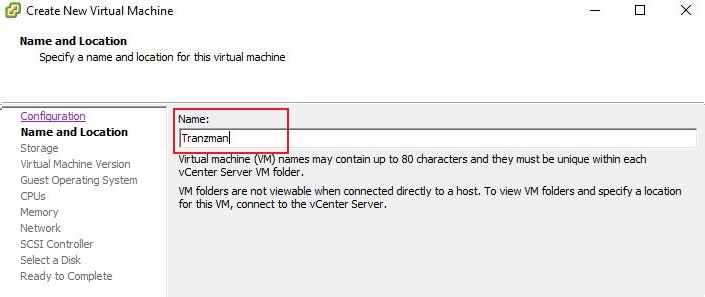
Give the machine a unique name that will make it easy to identify. i.e. Tranzman
Step 3
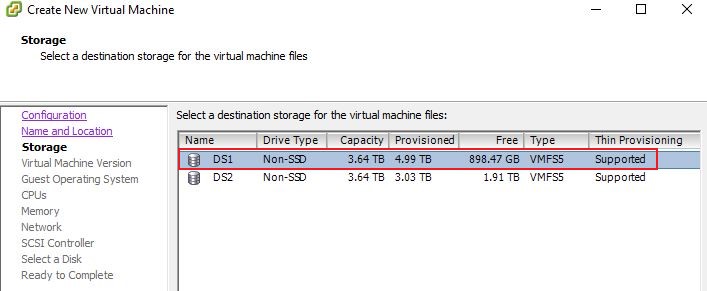
Choose in which DataStore the machine and all its files will reside. In our example we are using DS1.
Step 4
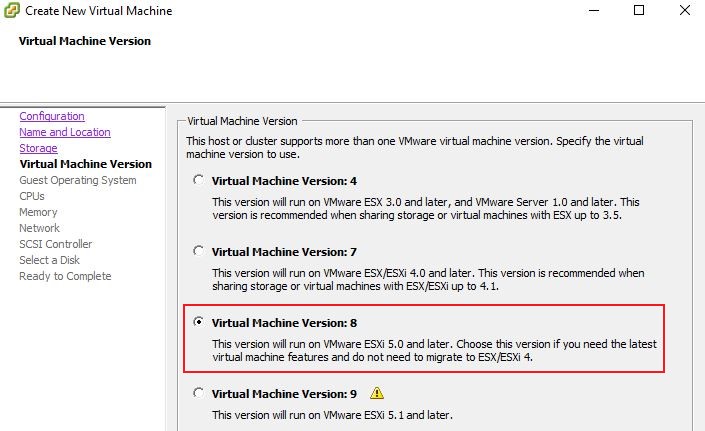
Select the Virtual Machine Version for the VA. Which version you require depends on your environment; your own Systems Administrator may advise you on this.
Step 5
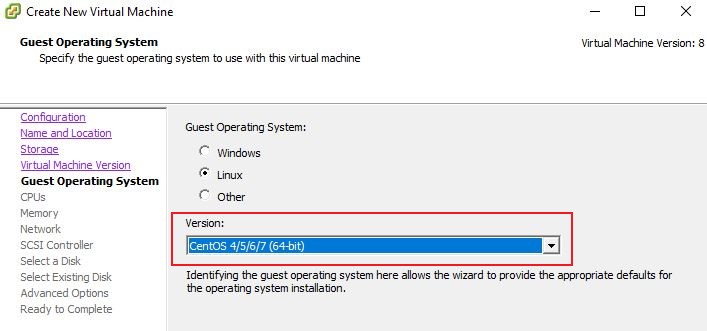
Now we select the type of the Guest Operating System. We have chosen CentOS 4/5/6/7 (64-bit) for higher compatibility.
Step 6
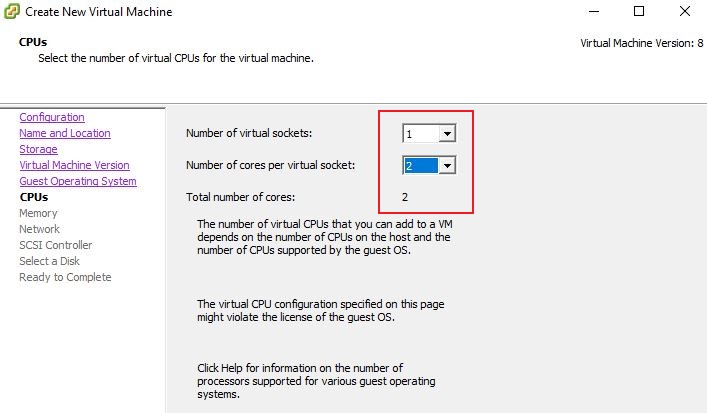
Configure the machine's CPU. The number of Virtual Socket and Cores per Virtual Socket will have been determined during the planning phase.
Step 7
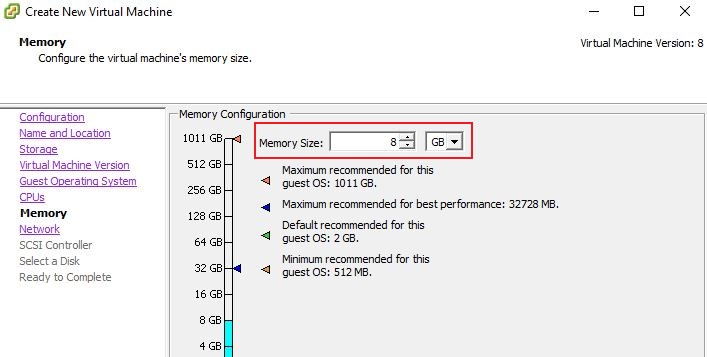
Configure memory. The amount of RAM should have been determined during the planning phase.
Step 8
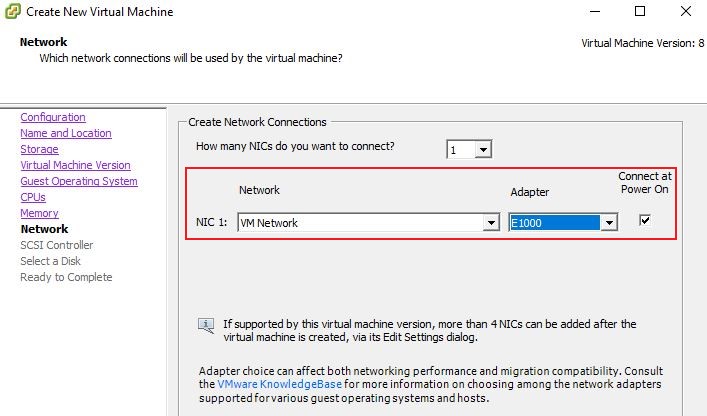
For the network type, one adapter type of E1000 is recommended for better compatibility. Do not forget to tick the option "Connect at Power On".
Step 9
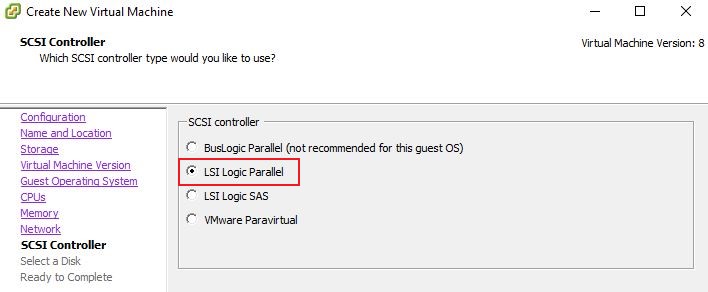
Storage controller can be left on the default of "LSI Logic Parallel.
Step 10
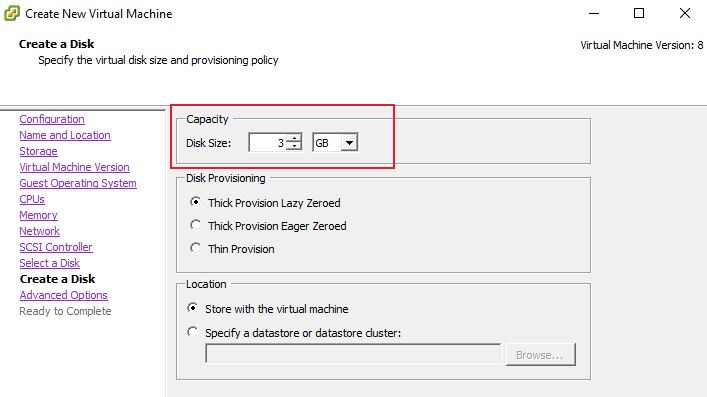
Please select to use a new disk and give it a 3GB size for OS installation.
Step 11
When Advanced Options has been reached, the default settings can be left in place for the Virtual Device Node.
Step 12
Before we complete the deployment of the machine, we need to tick "Edit the Virtual Machine Settings Before Completion" as extra hard drives need to be added.
Step 13
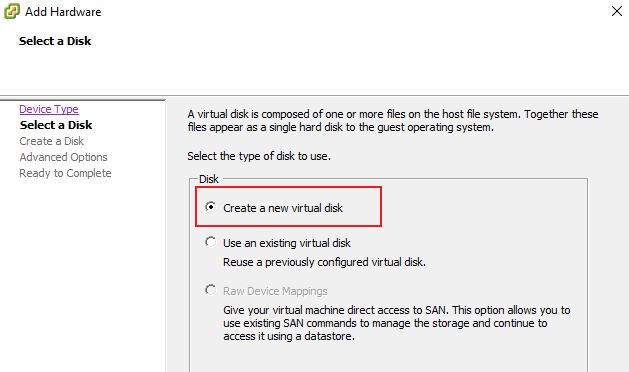
Add a new Hardware, select Hard Disk, and then "Create a new virtual disk".
Step 14
Repeat the process in Step 13 to add all of the required disks. Recommended values are as follows.
- SWAP = Twice the value of RAM assigned to the machine. (8GB RAM = 16GB of SWAP Partition)
- LOG = A minimum of 5GB is recommended
- DATA = A minimum of 25GB is recommended
- DATABASE = A minimum of 20GB is recommended
- DATASTORE = See Planning
If in doubt please get in contact with one of our consultants for optimal sizes depending on the size of the environment that would be migrated with Tranzman.
Step 15
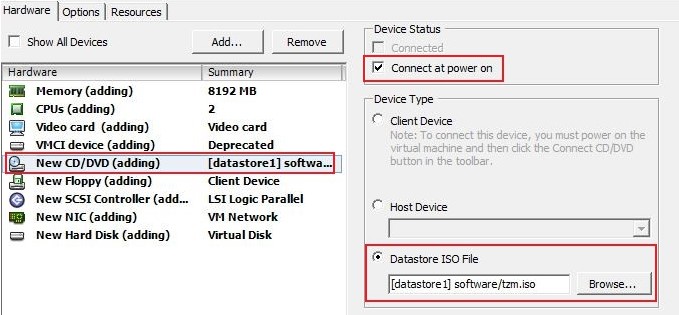
While still under the Hardware options, add a new CD/DVD and point it to the location of the ISO file provided by Stone Ram Ltd, and ensure that the option or "Connect at power on" is enabled. In our case this has been copied to a "software" folder on the VMWare host itself.
Step 16
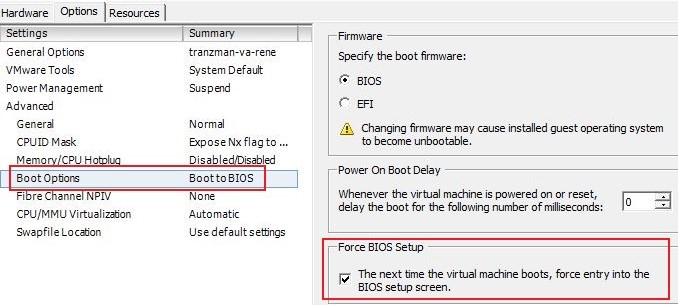
Force the machine to launch the Bios Setup on first use, so that the option to boot from DVD can be changed.
Step 17
To finish click on "Power on Virtual Machine" and follow the next tutorial on Install TZM Server.
